
Such system is constructed by a rigorous process: requirements, architecture, prototyping, development, testing, deployment, and continuous improvement. We have each stage safeguarding usability, speed, and long time maintainability.
- Start with the problem, not the code
- Step 1: Define requirements with user actions
- Step 2: Design the architecture before scaling
- Step 3: Validate with a working prototype
- Step 4: Move into controlled development sprints
- Step 5: Test beyond happy paths
- Step 6: Deploy with controls and training
- Step 7: Improve the product with live feedback
- The Most Overlooked Phase
- What a powerful process is more effective
Start with the problem, not the code
Frequently, most software projects fail because the team is in a hurry to implement features before understanding the job to be done by the user. The build process begins with determining the operational issue, the individuals involved and the result that the product should provide on a daily basis as long as the product is not baffling or unreliable.
Step 1: Define requirements with user actions
Requirements mapping is the initial build step. This involves moving business objectives into real user activities which include logging in, making of records, data validation, report generation, access control and change tracking.
Now the product team needs to record must-have workflows, decision rules, permissions and failure points. That minimizes scope creep and provides developers with a definite goal before one feature goes to production.
What to document early
Identify the user roles, inputs, outputs, approval steps and error states. Then identify success in quantifiable terms i.e., speed of work, low error rates, clean audit trails, and consistent response times.
Step 2: Design the architecture before scaling
System architecture comes after requirements have been fixed. This consists of database model, application logic, APIs, authentication, administration controls, reporting layers and hosting environment.
Bad architecture leads to costly re-working in the future. A robust one breaks down the core functions into modules so that the team is able to refresh the validation, reporting, or permissions without sacrificing the whole product.
Core technical priorities
It must be based on architecture that will support role-based access, data validation, logging, backup routines, and integration readiness. These are not side dishes. They are the components that allow the system to be used under actual working conditions.
Step 3: Validate with a working prototype
Smart teams create a prototype prior to full development. It is not a fined product. It is a rapid, verifiable variant that is employed to verify navigation, field logic, approval flow, and screen-level usability.
Feedback of prototypes avoids unnecessary waste. By early testing the flow, the teams can fix unclear labels, missing fields, and broken handoff points before the errors pervade the codebase.
Step 4: Move into controlled development sprints
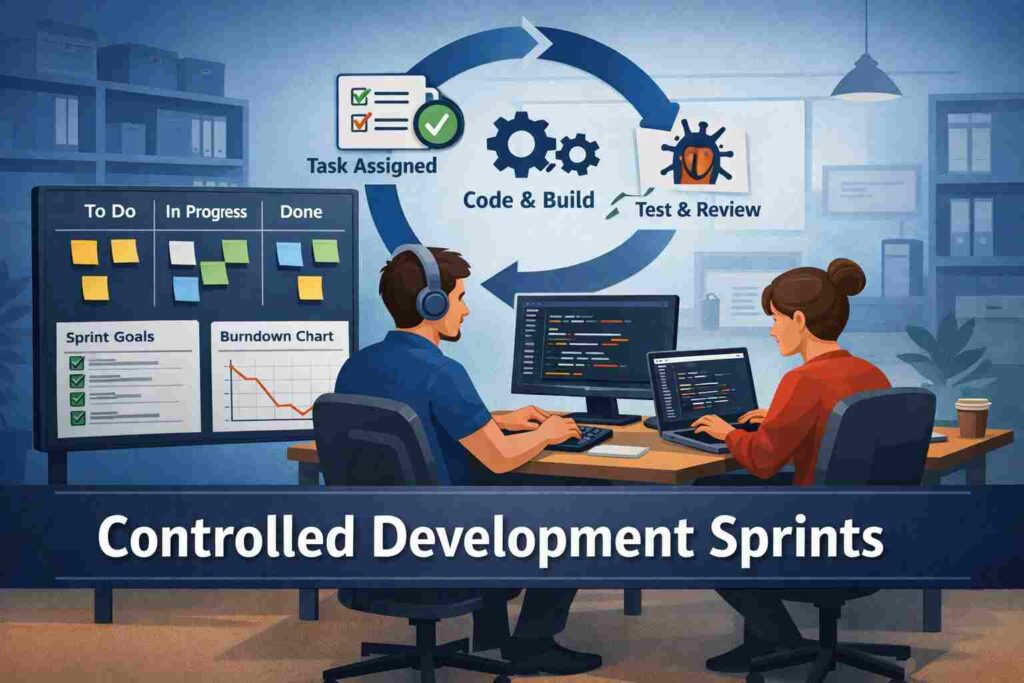
Once validated, development continues in quick, responsible sprints. Every sprint must deliver a product that can be put into use, be it authentication, dashboards, reporting, notifications or record management.
Developers require explicit guidelines: adhere to naming conventions, use existing components, write documents, and code that can be maintained by another engineer. Lack of discipline in fast delivery often results in weak software.
| Build phase | User goal | Primary output |
|---|---|---|
| Requirements | Define what must work | Approved workflow map |
| Architecture | Prevent rework | Scalable system design |
| Prototype | Test usability early | Clickable validation model |
| Development | Ship working features | Stable modules |
| Testing | Remove failures | Verified release candidate |
| Deployment | Go live safely | Production-ready system |
Step 5: Test beyond happy paths
It is through testing that serious teams stand out of careless teams. The product should be tested in terms of functional errors, permission errors, broken validations, performance slowness and data manipulation risk.
Perfect paths are not followed by real users. They key in half-baked data, duplication, weak ties, and evoke edge cases, which reveal design weaknesses. Only after such scenarios are directly tested is a release ready.
Step 6: Deploy with controls and training
Deployment does not merely consist of putting code on a server. It entails environment setup, data migration, access controls, rollback planning, user onboarding, and after sales coverage.
This is an important step as even a technically good product will go wrong in roll out. Without any training to users, permissions are configured incorrectly, or the imported data is unstructured, the trust is lost instantly.
Step 7: Improve the product with live feedback
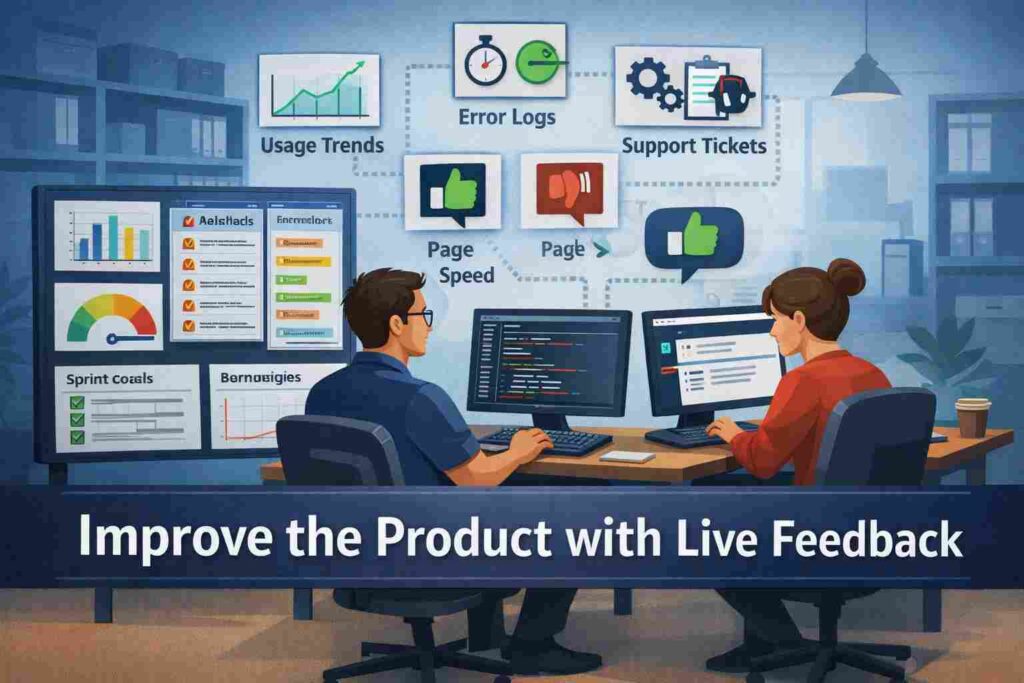
When the work is alive it is not finished. The team ought to track usage patterns, error reports, support requests, page speed, and bottlenecks in the experience to understand where the experience has fallen short.
The best products are enhanced by calculated repetition. Those are, in other words, fixes and improvements given priority, depending on how the users feel about it, rather than depending on what the internal opinion or the whims of random feature requests.
Also Read: How Software Developers Can Write Verilog for Custom FPGA
The Most Overlooked Phase
The neglected phase is decision governance: who may change fields, the records to approve, the rules to edit, the exceptions to audit, after launch. In its absence, the product could be technically but operationally unsatisfactory. Users require a system that does not just process data, but also safeguards accountability where actual decision, deadlines, and conflicts may arise among departments and user functions.
What a powerful process is more effective
A flaky build process results in hasty features, disorienting workflow, volatile releases, and costly fixes. The good process will result in more understandable adoption, fewer defects, less maintenance effort, and enhanced trust by end users.
The real difference is the one felt by the users. They observe how the software saves time, error reduction, and can assist in daily work without any obstacles.