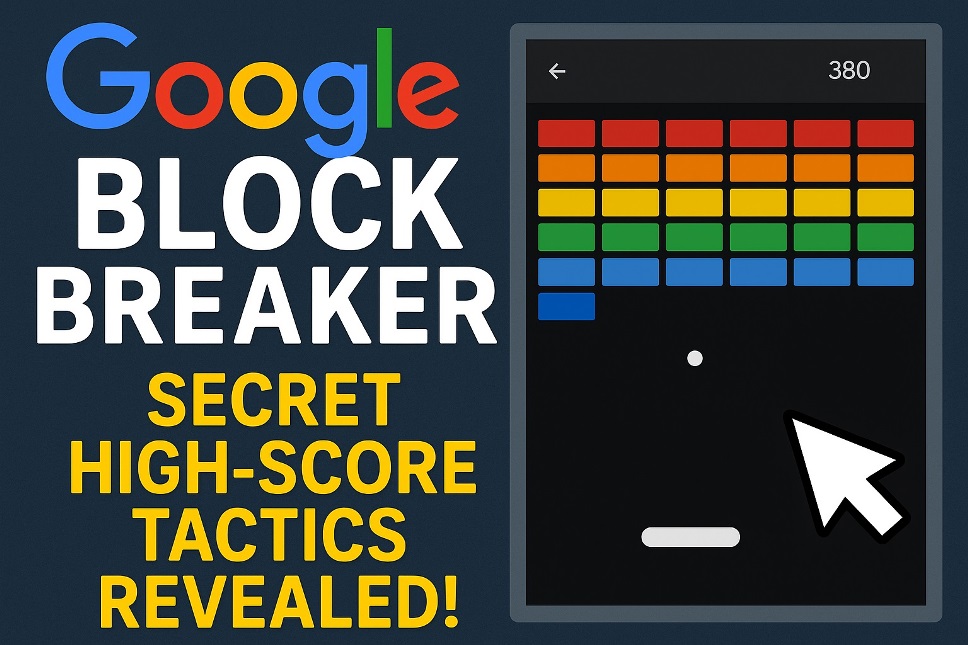
If you’re chasing a leaderboard-topping run in Google Block Breaker, you don’t need luck—you need a plan. This guide breaks the game down from basics to advanced shotmaking so you can turn solid play into repeatable, high-scoring sessions. We’ll keep things simple to follow, but we’ll go deep enough that even veterans pick up new techniques.
- Start With the Fundamentals (and Make Them Automatic)
- Angle Physics: Your First Real Edge
- Power-Up Discipline: Treat Drops Like a Budget
- Top-Screen Lock: The Most Reliable Score Engine
- Shot Selection: Build, Exploit, Reset
- Corner Loops and Wall Pins (Advanced Control)
- Mistake Recovery: Save the Run
- Level Routing: Clear for Access, Not for Completion
- Device and Settings: Quiet Wins Matter
- Mindset: Patience Scores More Than Swagger
- Putting It All Together
- Conclusion
- FAQs
Start With the Fundamentals (and Make Them Automatic)
Before fancy shots and risky routes, lock in the essentials. Mastery of paddle speed and positioning is non-negotiable. Keep your eyes slightly ahead of the ball, not on it—track its line and move early. Stabilize your hands by resting your thumbs or palms lightly so micro-adjustments feel natural. The moment you stop chasing the ball and start meeting it—a level of steady focus that’s just as vital when navigating the high-stakes environment of an online casino εξωτερικου — everything else gets easier.
Scoring usually favors clearing bricks quickly without losing lives, and some versions layer multipliers or bonus bricks on top. Even if the score system varies by mode, the same core rule applies: maintain possession and keep the ball active near the top of the field as long as possible. That’s where points stack fast.
Angle Physics: Your First Real Edge

The ball’s path depends on where it hits the paddle. A center hit returns a flatter line; off-center contact produces a sharper angle. Use that to your advantage:
- Need to break into a tight column? Aim slightly off-center to knife the ball into the gap.
- Want sustained damage up high? Send a steeper angle that climbs, then let wall bounces keep the ball trapped above the brick bed.
- Recovering control after chaos? Choose a calmer, shallow return to reset your rhythm.
Practice “feathering” the paddle—minute shifts right before contact—to fine-tune the outgoing angle. This precision shotmaking is what separates consistent high scorers from streaky ones.
Power-Up Discipline: Treat Drops Like a Budget
Power-ups feel exciting, but the best players treat them like a resource to budget. Grab only the ones you can collect without losing your position under the active ball. A short-term bonus is never worth a lost life. Prioritize effects that increase time on ball or damage output (for example, multi-ball, paddle extensions, or stronger hits in versions that support them). Delay low-impact power-ups if they pull you off line.
If multi-ball appears, don’t chase everything. Pick one “anchor” ball to protect and let the others amplify damage while they last. The score payoff comes from sustained play, not from catching every drop on the screen.
Top-Screen Lock: The Most Reliable Score Engine
Your most valuable scenario is trapping the ball above the main brick layer so it pings around with minimal risk. The method is simple: open a small tunnel on the side, then send a steep angle through it. Once the ball climbs above the pack, hold a neutral position and prepare for a fast re-entry. When the ball finally drops, don’t panic—meet it with a composed, shallow return, and repeat the setup.
This single tactic can multiply your score because damage accumulates while your paddle risk stays low.
Shot Selection: Build, Exploit, Reset
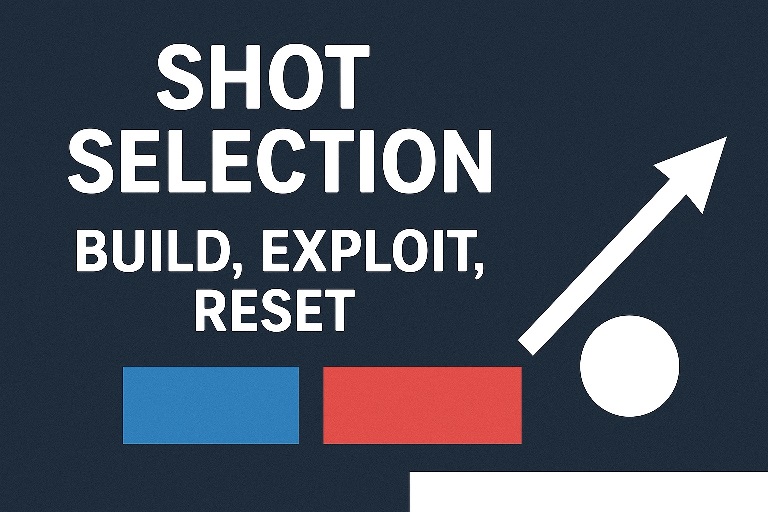
Think of every return as one of three purposes:
Build: Early on, carve lanes. Target soft spots that will open future access to the top. Controlled angles beat brute force.
Exploit: Once a lane is open, send aggressive, steep shots to lodge the ball up high. This is your scoring window—milk it.
Reset: When chaos hits—multiple drops, sharp rebounds—play a safer, shallow route to stabilize. Regaining control preserves your run.
Rotating among these three shot types keeps your game plan structured, even when the board gets messy.
Corner Loops and Wall Pins (Advanced Control)
Two high-return patterns are worth practicing:
Corner Loop: Aim so the ball kisses the side wall and top corner repeatedly. Done right, you get a repeating arc that erodes bricks with minimal intervention. It’s touchy—use micro-adjustments to maintain the loop without flattening the angle.
Wall Pin: Drive a line that bounces rapidly between a side wall and a vertical strip of bricks. It behaves like a drilling action, opening deep columns quickly. The pin is great for creating top-screen access and for surgical cleanups late in a level.
Mistake Recovery: Save the Run
Even experts misread a rebound. When a shot surprises you, prioritize center-line recovery—slide the paddle to the screen’s midline as your default safe zone. From there, you can reach either side in one move. If the ball is dropping hard at a sharp angle, step into its path early and cushion the return by moving with it on contact. This reduces rebound speed and buys you control.
Level Routing: Clear for Access, Not for Completion
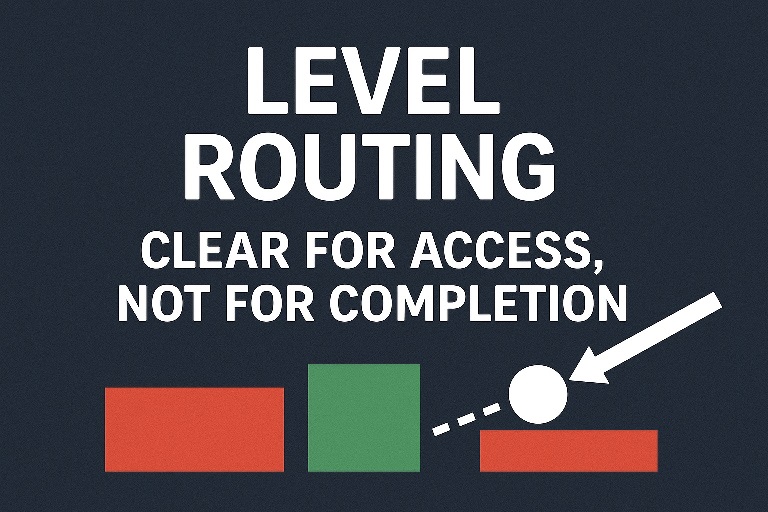
Resist the urge to tidy the board from left to right. Instead, route levels to unlock the safest, highest-yield lines:
- Open a side lane to reach the upper field.
- Exploit the top until gravity brings the ball home.
- Spot-clear stubborn columns that block new lanes.
- Finish only when access routes are exhausted.
This approach keeps your paddle risk low while maximizing time-on-target above the brick bed.
Also Read: How to Use Jupyter Notebook [ A Complete Tutorial ]
Device and Settings: Quiet Wins Matter
Small setup choices pay off over a long session. Play on a device with a responsive touch surface and turn off notifications. If there’s an in-game option for sensitivity, pick a setting that lets you make micro-moves without overshooting. Brightness high enough to see edges clearly helps with last-second reads, especially on darker color palettes.
Mindset: Patience Scores More Than Swagger
High scores come from discipline, not heroics. Take the conservative catch when a power-up is dangling out of reach. Choose a reset shot after a scramble instead of forcing a perfect angle. Protect every life as if your run depends on it—because it does. The scoreboard rewards consistency over highlight-reel gambles.
Putting It All Together
To climb the rankings in Google Block Breaker, nail the fundamentals, control your angles, budget power-ups, and build deliberate access to the top of the board. Use corner loops and wall pins to accelerate damage, recover quickly from mistakes with center-line positioning, and route levels for access rather than neatness. Play patient, repeat the patterns that work, and you’ll watch your high score rise—run after run.
Conclusion
You don’t need secret codes to post a monster score—just repeatable systems. Stabilize your mechanics, aim with intent, and keep the ball working where it scores best: high and busy. The more you treat each return as a choice—build, exploit, or reset—the more control you’ll feel over every level. Keep it calm, keep it clean, and the leaderboard will follow.
FAQs
Q1: What’s the fastest way to break through dense brick clusters?
Open a narrow side lane first, then send a steep angle to the top. Once the ball is above the cluster, natural bounces shred it far faster than flat, ground-level shots.
Q2: How do I handle multi-ball without losing everything?
Pick one anchor ball to guard. Position for that ball first, and collect any extras only if they don’t force you out of line. Let the “free” balls add damage while you maintain control.
Q3: My angles feel random—how do I get consistent?
Focus on where the ball strikes your paddle. Practice tiny pre-contact shifts to set the outgoing line. Start by aiming for repeatable shallow returns, then graduate to steeper shots once your control improves.