Bringing UPI and mobile wallets into your app isn’t just a feature upgrade—it’s a growth lever. Done right, you’ll ship a reliable, lightning-fast payment flow that users trust and complete on the first try. This guide walks you through practical architecture choices, platform specifics for Android and iOS, backend must-haves, security, and go-live checks—so you can move from sandbox to production with confidence.
- What You’re Integrating (and when to use each)
- Integration Paths: SDKs vs. Intent/Deep Link
- Architecture at a Glance
- Android: Fastest Path to a Working Build
- iOS: URL Schemes and Universal Links
- Choosing Providers (and why it matters)
- Backend Essentials: Orders, Security, and Reconciliation
- Data, Compliance, and Risk
- UX Tips that Move the Needle
- Testing and Go-Live
- Conclusion
- FAQs
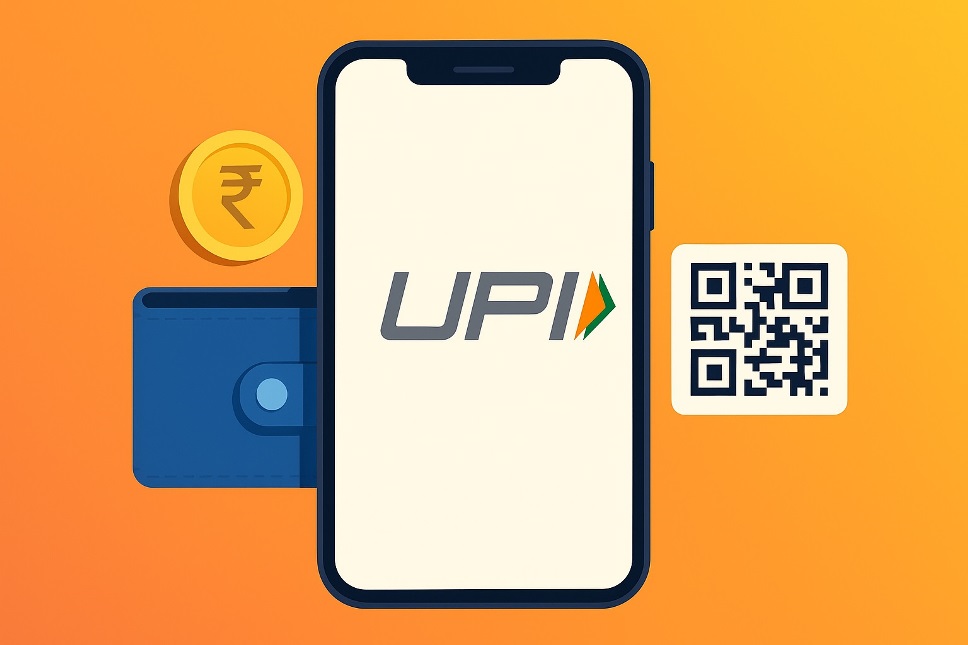
What You’re Integrating (and when to use each)
The Unified Payments Interface (UPI) lets users pay directly from bank accounts using a virtual payment address (VPA), while wallets store value for quick authorizations. Use UPI for bank-to-bank transfers and wallets for repeat, one-tap experiences or incentives. If you’re modeling pricing screens or EMI tips in the same onboarding flow, consider linking to a trusted debt payoff calculator to help users make informed decisions early and understand how their repayment schedule impacts the total interest paid over time.
Integration Paths: SDKs vs. Intent/Deep Link
Most teams choose one of two paths:
- SDKs from gateways or PSPs package UI, device checks, retries, receipt handling, and analytics. They get you live quickly and reduce maintenance.
- Intent/Deep Link flows hand off to a user’s installed UPI app, then return control to your app with a success/failure payload.
If speed and reliability are paramount, start with an SDK. If you want maximum control and a smaller footprint, the intent route is lightweight and robust.
Implementation note: Providers document UPI intent clearly for Android and mobile web, and also support SDK integration for native apps.
Architecture at a Glance
Keep your app thin and your backend authoritative:
- Client requests an “order” from your server (amount, currency, description, metadata).
- Server creates the order with your payment provider, returns the payment payload or checkout options.
- Client launches payment (SDK or deep link).
- Provider/UPI app processes payment and calls your webhook with final status.
- Backend reconciles status and unlocks features or fulfillment.
Popular gateways expose server-to-server callbacks you’ll process just like any other asynchronous event.
Android: Fastest Path to a Working Build
On Android you can integrate an SDK (e.g., Razorpay, PhonePe, Paytm) or use UPI deep link hand-offs. The deep-link format (e.g., upi://pay?...) launches the user’s preferred UPI app and returns control post-authorization. Test both “installed app present” and “no app found” cases, and implement a fallback.
Developer docs and guides explain deep-link parameters and app launch behavior in detail.
iOS: URL Schemes and Universal Links
On iOS, SDKs are the simplest way to support UPI and wallets. When using deep links, verify supported apps on physical devices and handle cases where the app list isn’t returned. Always present a card/netbanking fallback or a manual VPA path when UPI apps aren’t available.
Providers publish specific iOS notes and examples; follow them to ensure UPI apps are detected correctly on real devices.
Choosing Providers (and why it matters)
If you need an all-in-one path with quick time-to-market, consider a payment gateway offering mobile SDKs, hosted checkout, robust webhooks, and status reconciliation:
- PhonePe Payment Gateway: Detailed guides for mobile and backend SDKs, plus sandbox tooling.
- Paytm All-in-One SDK: Native SDK with UPI support; documentation includes checksum flows you’ll implement server-side.
- Turbo UPI (Razorpay): In-app UPI experience designed to reduce context switching and boost success rates.
If you prefer leaner control, you can integrate Setu UPI deeplinks or similar providers that focus on link-based UPI flows.
For content and onboarding clarity, Google’s official notes on Google Pay UPI cover request/response structures and deep links.
Backend Essentials: Orders, Security, and Reconciliation
Create orders server-side and pass only the minimum to the client. Validate amounts, currency, and merchant IDs, and store an idempotency key per attempt. When the provider posts your webhook, treat it as source-of-truth and reconcile with your order table. For some SDKs, you’ll generate or verify a checksum to prevent tampering and to authenticate callbacks.
Paytm’s developer FAQs detail checksum generation/verification patterns; other providers use signatures or HMACs.
Also, confirm status after user returns to the app (client-side) and after webhook (server-side) to handle pending/timeouts gracefully. Many providers publish “pending/timeout” handling guidance you can adapt.
Data, Compliance, and Risk
Limit what you store: amounts, masked identifiers, and provider transaction references. Avoid collecting sensitive data you don’t need. Using a major payment gateway or payment aggregator that tokenizes and hosts sensitive elements helps reduce PCI scope. Log device signals, cap attempts per order, and add a “retry last attempt” button that preserves context but generates a new order id to avoid duplicates.
Also Read: eLeads Login: Portal Access, Mobile App & SSO Guide
UX Tips that Move the Needle
Keep the authorization step obvious, with a clear call to open the UPI app or a wallet. Show installed app choices, default a recommended option, and pre-fill notes where allowed. Provide an inline status poll (“Confirming payment…”) before showing success. Offer a self-serve receipt and “try another method” action on failures. If your audience includes new-to-digital users, a brief explainer comparing bank transfers and wallets—much like “Nasdaq’s financial planning guide” simplifies complex money topics—can reduce drop-offs without adding friction.
Testing and Go-Live
Test success, failure, pending, user cancel, and app-switch edge cases. Verify webhook retries and idempotency. In production, monitor success rate by method, device, OS, and app version. Set SLOs, alerts, and dashboards for “initiated → success” and “initiated → pending > X minutes.” Document a rollback path (disable a provider, route to fallback, prompt card/netbanking).
Gateway docs for setup, supported platforms, and Android/iOS specifics are comprehensive—lean on them for each release.
Conclusion
Integrating UPI and wallets quickly—and correctly—comes down to three choices: pick an SDK or deep-link path that matches your team’s velocity, keep your backend the single source of truth with secure order creation and webhook reconciliation, and obsess over the last mile of UX with clear hand-offs and resilient retries. Follow your provider’s docs closely, test the messy edges, and you’ll ship a payment flow that’s fast, reliable, and conversion-friendly.
FAQs
1) Can I support UPI and wallets without changing my current checkout UI?
Yes. Many providers offer drop-in SDK components or hosted screens you can theme lightly while keeping your existing navigation and order model intact.
2) How do I handle duplicate payments if a user taps twice?
Use server-side idempotency keys bound to your order id. If a second request arrives with the same key, return the original result and suppress new charges.
3) What should I log for audits without increasing PCI scope?
Keep provider transaction IDs, order ids, masked VPAs, amounts, timestamps, and signatures/checksums. Avoid storing raw PANs, full VPAs, or PINs.
4) How do I improve success rates on low-end devices or poor networks?
Minimize app switches with SDK flows where possible, cache static assets, keep payloads small, and implement automatic retries for transient failures.
5) What fallback should I show if no UPI app is installed?
Offer wallet, card, and netbanking options. Provide a manual VPA entry path or a link to install a supported UPI app, and keep the order valid for a short retry window.