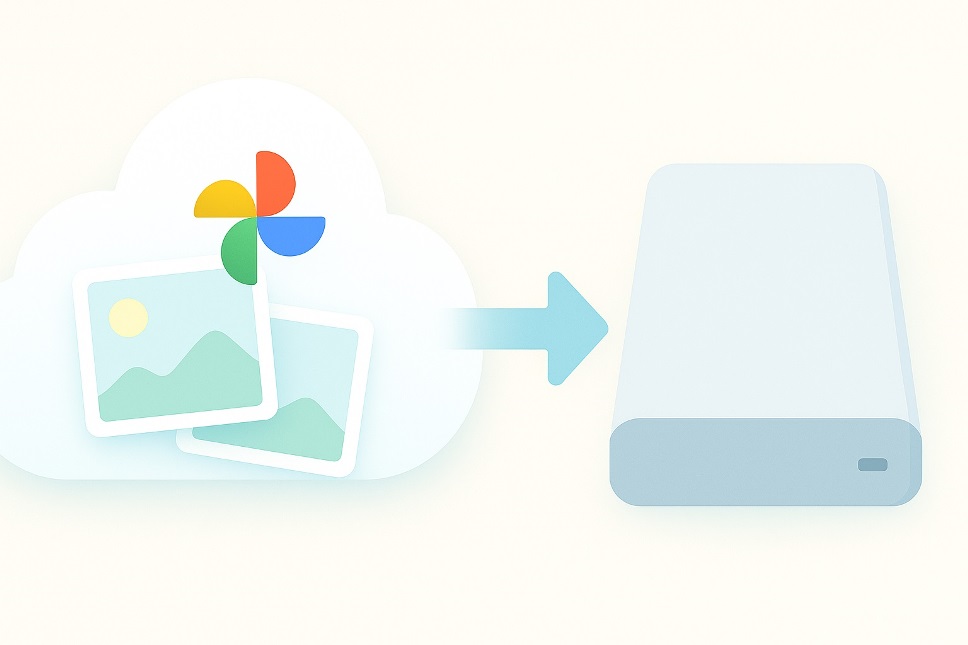
If your memories live online, it’s time to bring them home, too. In this guide, you’ll learn exactly how to copy your entire library from Google Photos to a local external hard drive—safely, cleanly, and with your metadata intact. You’ll get two proven methods (manual export and automated sync), pro tips to avoid corrupt archives, and a maintenance routine that keeps your backup current.
- Why a Hard-Drive Backup Still Matters
- Method 1: Export Everything with Google Takeout (Best for Full Library Copies)
- Method 2: Use Drive for Desktop to Sync and Stage (Great for Ongoing Adds)
- Where This Fits in a Smart Backup Strategy
- Step-by-Step: Moving Files to Your External Drive
- Keep Metadata and Albums Intact
- Troubleshooting Common Hiccups
- Upgrade Your Ongoing Routine (Optional but Powerful)
- Security & Privacy Essentials
- Quick Glossary and Platform Notes
- Conclusion
- FAQs
Why a Hard-Drive Backup Still Matters
Clouds are convenient, but no single location should be your only copy. A local backup gives you independence from account issues, plan changes, or temporary outages and lets you move or restore your archive on your terms. The best practice? Keep at least two copies in different places (cloud + local).
Method 1: Export Everything with Google Takeout (Best for Full Library Copies)
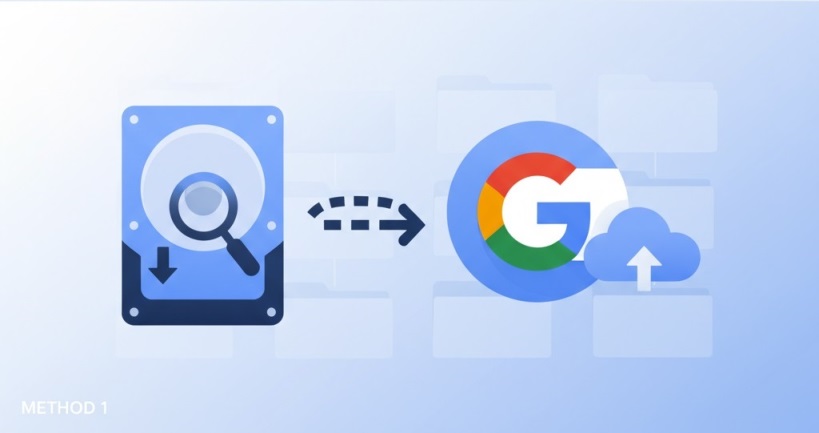
Google Takeout creates a complete snapshot of your library with albums, edits, and metadata files. It’s ideal for a periodic, bulletproof archive you’ll store on your hard drive.
Steps
- Open Takeout and sign in to your Google account. Deselect all, then enable Google Photos only. Customize by albums if needed. Google Help
- Click Next step and choose File type & size. For large libraries, smaller splits (e.g., 10–20 GB) prevent timeouts and make downloads easier to resume.
- Choose Delivery method (email link is fine) and Create export. You’ll receive download links when the archive is ready.
- Verify your download: after saving all .zip or .tgz files to your computer, extract them to a temporary folder.
- Move to your hard drive: plug in your drive and copy the extracted folders there. Consider a top-level structure such as
Photos/Year/Monthfor simple navigation.
What you get: your images/videos plus JSON sidecar files that store titles, captions, locations, and taken dates—critical for long-term integrity.
Tip: If your library is huge, run Takeout overnight and keep your computer awake to avoid interrupted downloads. Google’s help docs explain how to download photos individually if you only need a subset.
Method 2: Use Drive for Desktop to Sync and Stage (Great for Ongoing Adds)
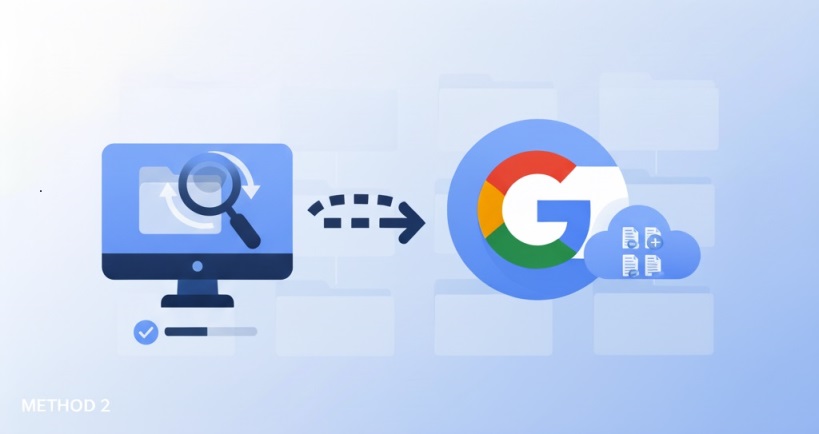
If you frequently add new shots and want a near-continuous local copy, stage your media to a computer folder with Google Drive for desktop, then copy that folder to your hard drive.
Setup overview
- Install and sign in to Drive for desktop.
- In Preferences → Folders from your computer, choose folders you want mirrored/synced. For new Photos uploads from your computer, you can always enable “Back up to Google Photos.”
- Once files are synced locally, periodically copy that synced folder to your external hard drive as your offline archive.
Note: Google’s old “Backup and Sync” app was retired; the modern tool is Drive for desktop. If you still see references to the old app, the official transition path is documented by Google.
Where This Fits in a Smart Backup Strategy
- Takeout = complete, periodic “point-in-time” export.
- Drive for desktop = ongoing collection point to keep recent additions handy.
- Hard drive = long-term, offline copy you control.
Use both: run Takeout quarterly for a clean snapshot, and copy new monthly folders from your synced directory to stay current.
Also Read: How Cloud Storage Apps Are Making Remote Work Easier
Step-by-Step: Moving Files to Your External Drive
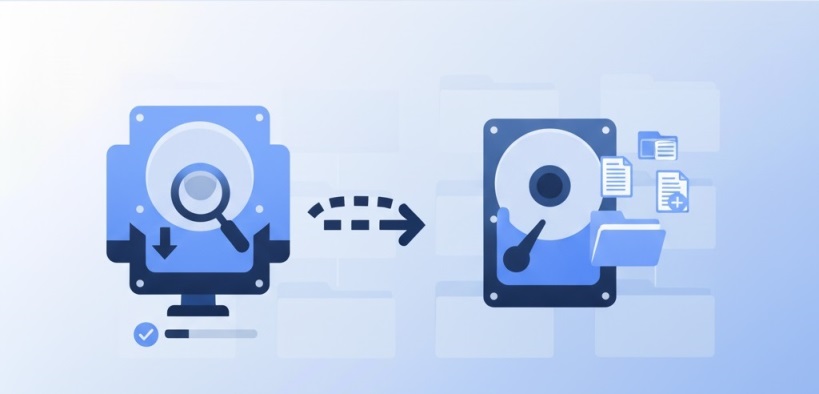
- Prepare the drive. Ensure it’s formatted for your system and large enough for your entire library plus 20–30% headroom.
- Create a master folder. Example:
Google-Photos-Master. Inside, add subfolders by year. - Copy efficiently. Drag the extracted Takeout folders (or your synced folder) into the year structure. Avoid renaming during the first pass—preserve original timestamps first.
- Spot-check integrity. Open random folders and play a few videos. Confirm EXIF dates and album text files/JSON are present.
- Document the backup. Add a simple README with the export date, method, and any filters you applied. Future-you will thank you.
Keep Metadata and Albums Intact
Takeout includes sidecar JSON files that store descriptions, locations, and edited dates. Keep those alongside your images for maximum portability to other tools or future platforms. If you need to export Google Photos albums exactly once for a special project, export by album in Takeout so your structure mirrors your cloud organization.
Troubleshooting Common Hiccups
- Split archives won’t open: ensure all parts (.zip.001, .zip.002, etc.) sit in the same folder before extracting.
- Mismatched counts: compare total items shown in Photos with extracted file counts; re-run a smaller album-based export if something seems off.
- Slow or stalled downloads: lower the archive split size and use a wired connection.
- Duplicates after re-exports: de-duplicate by file hash (lots of free tools do this) rather than by filename.
Upgrade Your Ongoing Routine (Optional but Powerful)
- Schedule exports: put a recurring reminder on your calendar for a quarterly Takeout.
- Second copy: clone your hard drive to another USB drive kept off-site.
- Test recovery: restore a small sample to confirm your process works end-to-end before you need it for real.
Security & Privacy Essentials
Your local archive is only as safe as the drive it sits on. Use an encrypted volume, don’t leave drives plugged in unattended, and store a second copy away from your main workspace. If you prefer software-based mirroring or versioning, reputable tools can complement your photo backup routine. Independent tech outlets frequently recommend solutions for local and cloud storage strategies to keep your media resilient over time.
Quick Glossary and Platform Notes
- “Download Google Photos” vs. “sync Google Photos”: downloading is a one-time copy; syncing keeps a folder updated automatically.
- Windows tips: on Windows 11, confirm long-path support if you see errors with deep album structures.
- Mac tips: on a MacBook, keep the lid open and “Prevent sleeping” enabled during long exports.
- Transfer photos safely by copying to a temporary folder first, then verifying before moving to the hard drive.
- If you also use Google Drive, don’t mix the Drive sync folder with your final archive; copy from it into your structured backup folder to avoid confusion later.
Conclusion
Bringing your library down from the cloud is the single best step toward long-term control of your memories. Use Google Takeout for authoritative snapshots, lean on Drive for desktop for continuous convenience, and anchor both to a well-organized folder structure on an external hard drive. With a little up-front setup and a recurring schedule, you’ll have a dependable, portable archive you can trust for decades.
FAQs
1) Can I keep album names when I import this archive into another photo manager?
Yes—most modern apps can read folder structures and sometimes sidecar data. If album fidelity matters, export via Takeout by album for cleaner grouping.
2) What’s the safest way to verify nothing is missing after a large export?
Compare item counts per year or album and spot-check videos; for full certainty, use a duplicate checker that supports checksums to confirm every file copied correctly.
3) How big should my hard drive be for a decade of photos?
As a rule of thumb, pick a drive that is 2× your current library size to allow for growth, edits, and additional exports.
4) Will edits like “Magic Eraser” be preserved in my local files?
If the edit was saved in Google Photos before export, you’ll get the edited version; Takeout also includes metadata that reflects changes.
5) Is there a way to automate a monthly, versioned snapshot without babysitting?
Yes—use a local backup app to copy your staged library to the hard drive on a schedule, keeping dated folders so you can roll back to any point if needed.