Jupyter Notebook is the go-to workspace for writing code, explaining ideas, and sharing results in one place. In this guide, you’ll go from zero to confident—installing, launching, writing cells, adding text, and exporting your work. If you arrived here wondering how to use jupyter notebook, or even after typing a misspelled jupyter notebook tutorial, you’re in the right spot.
- What is Jupyter Notebook and why use it?
- Install Jupyter Notebook (the easy way)
- Create and run your first notebook
- Understand cells, kernels, and text
- Essential workflow tips (beginner → intermediate)
- Going further: JupyterLab, VS Code, and the cloud
- Formatting, magic, and exports
- Common install patterns
- Quick reference: Saving, checkpoints, and sharing
- Try it right now
- Conclusion
- FAQs
What is Jupyter Notebook and why use it?
jupyter notebook is a web app where you combine live code, narrative text, math, and visuals in a single “notebook.” It runs in your browser, supports dozens of languages, and is part of the wider jupyter ecosystem. You can try jupyter notebook online or run it locally for full control over packages and data.
Install Jupyter Notebook (the easy way)
The simplest path is Anaconda, which bundles Python and tools for data work. Install Anaconda, then launch jupyter notebook from the Start menu (Windows) or Applications (macOS). Prefer a lighter setup? Use pip:
pip install notebook
jupyter notebook
Both approaches are supported by official docs; use Anaconda for managed environments or pip for a minimal footprint.
Create and run your first notebook

- Launch. Run
jupyter notebookand your browser opens the Notebook dashboard. - New notebook. Click “New” → Python (or your preferred kernel).
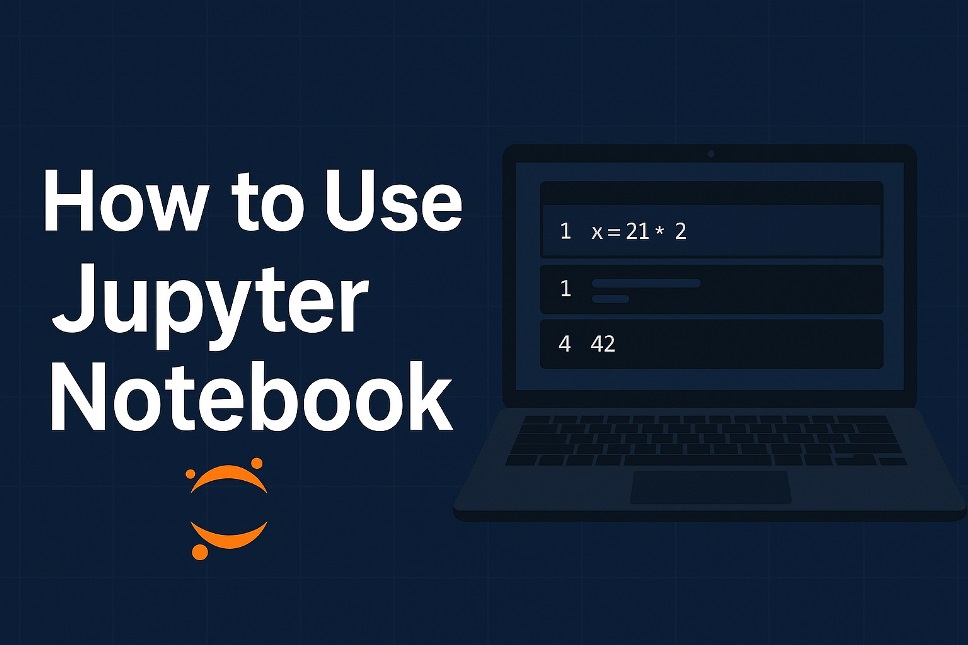
- Run code. In a cell, type:
x = 21 * 2
x
Press Shift+Enter to execute. That’s it—you’ve run code interactively.
Understand cells, kernels, and text
- Code cells execute code and show outputs below.
- Markdown cells let you format text, headings, and lists (great for notes, methods, or conclusions).
- The kernel is the compute engine; restarting it clears variables without closing your notebook.
These concepts are the backbone of jupyter notebook productivity and portability.
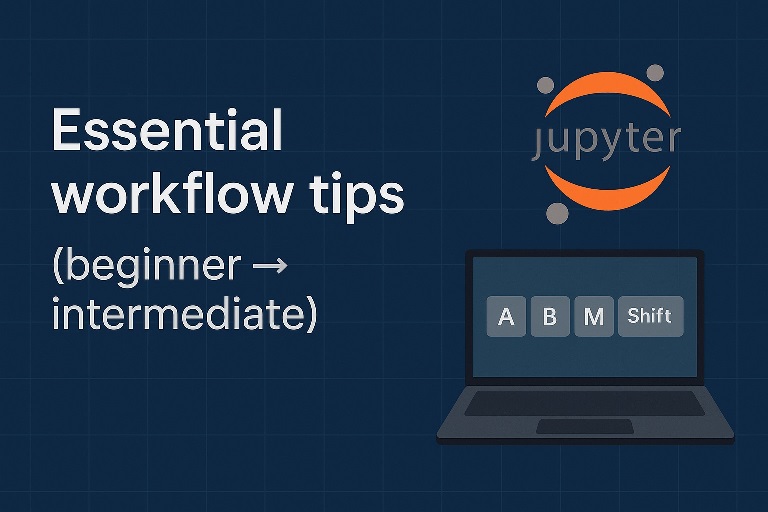
Essential workflow tips (beginner → intermediate)
- Use a virtual environment to isolate project dependencies (Anaconda/conda or
venv). - Learn a few keyboard shortcuts:
Aadds a cell above,Bbelow,Mswitches to Markdown,Yto code, andShift+Enterruns a cell. - Add context as you go. Good notebooks read like lab reports: problem → code → result → interpretation.
- Prefer small, single-purpose cells; it’s easier to test and debug.
- Keep your data and notebooks organized in project folders; relative paths > hard-coded absolute paths.
Also Read: Google Block Breaker: Dominate! Secret Pro Tactics Exposed
Going further: JupyterLab, VS Code, and the cloud
The classic jupyter notebook interface is great, but you can upgrade to JupyterLab for a multi-tab IDE experience, or open notebooks directly in VS Code’s native support for notebooks. If you don’t want local setup, try an online jupyter notebook service to start fast in the browser.
Formatting, magic, and exports
- In Markdown cells, add headings, links, images, and math (LaTeX).
- Use magic commands like
%timefor timing or%matplotlib inlinefor plotting right in the notebook. - When you’re done, export to HTML or PDF to share clean reports with teammates or clients.
Official and community guides cover these features in depth if you want a deeper dive.
Common install patterns
- Full suite: install Anaconda, then launch from its menu.
- Minimal: run pip install notebook and launch from the terminal.
Pick what fits your workflow; both are reliable and broadly documented.
Quick reference: Saving, checkpoints, and sharing

Notebooks autosave frequently, but use File → Save and Checkpoint before big changes. To share, push .ipynb files to GitHub or export and email the HTML render; many readers prefer HTML for static viewing.
Try it right now
If you want to experiment without installing anything, spin up jupyter notebook online on reputable hosted platforms, then move local when you need custom packages or hardware access.
Conclusion
You’ve learned what jupyter notebook is, how to install it, launch it, run code, write Markdown, use the kernel effectively, and share results. Start with a small project—load a CSV, plot a chart, add notes—and grow from there. With thoughtful structure and clear writing, your notebooks become living documents that explain both the what and the why behind your work.
FAQs
1) is jupyter notebook free
Yes. The software is open source and free to use; you can install it locally or access hosted options that may have their own pricing.
2) What’s the difference between JupyterLab and the classic interface?
JupyterLab is a modern, flexible interface with multiple tabs and panes; the classic jupyter notebook is simpler and document-centric. Both run the same notebooks.
3) Can I use Jupyter in VS Code?
Absolutely. VS Code provides first-class notebook support so you can open, run, and debug notebooks alongside your editor and extensions.